
Using OAuth with Saturn
Using OAuth with Saturn
Saturn is new F# web framework that provides flexible, high level model of creating web applications using principles of functional programming and MVC architectural pattern. Main design goals of Saturn includes high level abstractions that lets developers focus on creating business code , and general developer experience. One of the features provided by Saturn is support for popular way of authentication - OAuth
This blog post was created for Saturn version 0.7.5
OAuth intro
OAuth 2 is an authorization framework that enables applications to obtain limited access to user accounts on an HTTP service, such as Twitter, GitHub, or DigitalOcean. It works by delegating user authentication to the service that hosts the user account, and authorizing third-party applications to access the user account. OAuth 2 provides authorization flows for web and desktop applications, and mobile devices.
While OAuth supports multiple different types of authorization, useful for different use cases, here we will talk about authorization code flow. The authorization code grant type is the most commonly used because it is optimized for server-side applications (such as web applications using Saturn), where source code is not publicly exposed, and Client Secret confidentiality can be maintained. This is a redirection-based flow, which means that the application must be capable of interacting with the user-agent (i.e. the user’s web browser) and receiving API authorization codes that are routed through the user-agent.
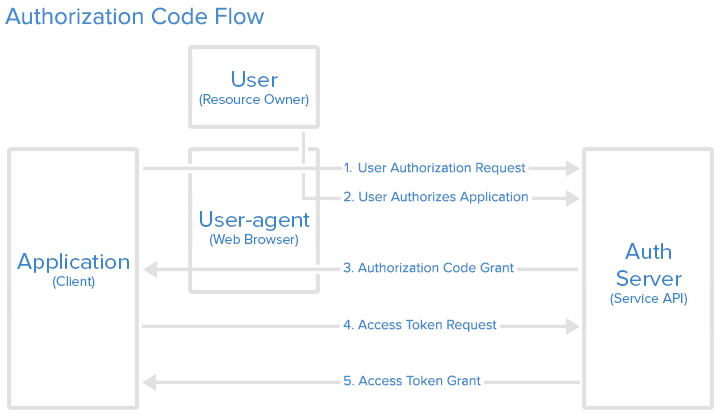 Flow of Authorization Code OAuth grant
First steps
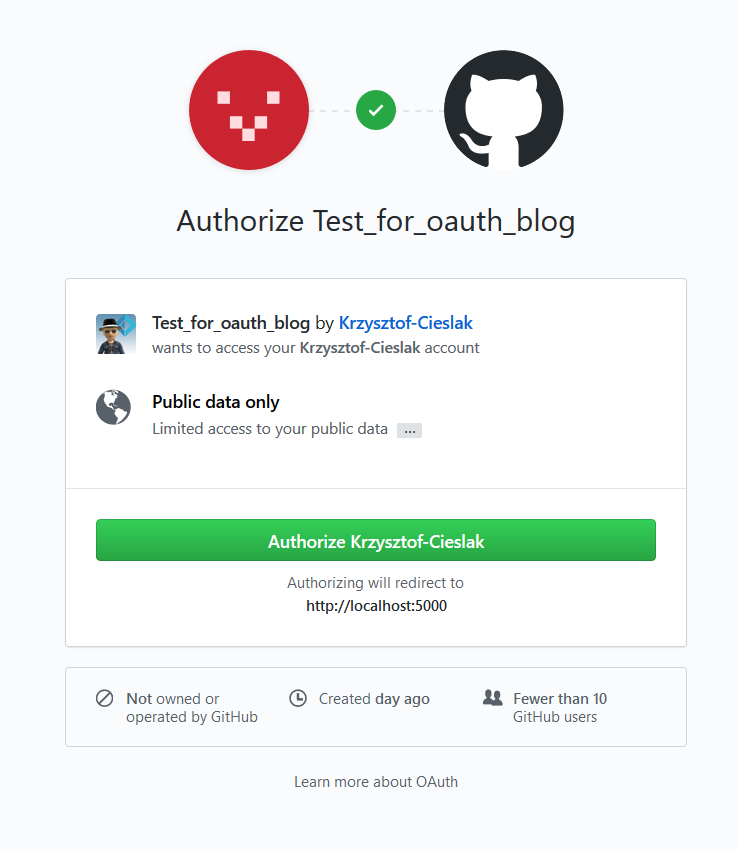
The first step in creating application using OAuth is registering application in the OAuth provider. In this example I’ll use GitHub.
To start off with, you will need to register an application by going to the GitHub Developer Settings. Click on the button to Register a new application, and complete the information for your application. Specify http://localhost:5000/signin-github as the value for the Authorization callback URL field:
 Register a new OAuth application
Take note of the values for Client ID and Client Secret, that will be shown on the next screen after pressing Register application button, as you will need those shortly when registering the OAuth.
Path goes forward
Next step is creating new Saturn application. This can be easily done using dotnet CLI tool.
mkdir oauthBlogPost
cd oauthBlogPost
dotnet new saturn
If you don’t have Saturn template installed you can get it by running
dotnet new -i Saturn.Template
Next step is installing Saturn.Extensions.Authorization - NuGet package that contains additional helpers for handling authorization, including GitHub provider.
Open paket.dependencies and src\oauthBlogPost\paket.references file and add Saturn.Extensions.Authorization in there. After it’s done run .paket\paket.exe install and dotnet restore.
If you’re on Linux / MacOS you will need
monoto runpaket.exe
Diving deep
Now, at last, it’s time to look at some code. Open Program.fs file that contains basic configuration of your Saturn application. Firstly, edit URL to use port 5000. Secondly add new entry in the application block - use_github_oauth. This custom operation takes couple of input parameters - Client ID, Client Secret, Callback URL, and the list of tuples used to mapping from GitHub’s JSON response to the claims that Saturn understands.
Second step is creating pipelines that will handle or require authentication. Create User.fs file, and add it to .fsproj file above the Router.fs.
The matchUpUsers function mock ups check of the data coming from GitHub with your real users database, loggedIn pipeline forces authentication on the request, and isAdmin pipeline checks if the request is done by someone with Admin role.
Now, it’s time to plug it into our routing. Open Router.fs file. We will create additional router that will display two views - one for logged in user, second one for the admin. Now you need to plug this new router into our top level router - browserRouter . The last thing you need to do here is also handling the URL that will be called by GitHub after successful authentication. We will redirect it into logged user view.
Last step is creating some HTML views that we will return to user. Under Templates folder, create UserView.fs file and add it to .fsproj as last file in Template/ group.
Light at the end
It’s time to run our application. But there is one small step you still need to do. Go to src\oauthBlogPost folder and run from terminal dotnet saturn migration
This step is necessary because
dotnet new saturncreates pretty complex application scaffold including connection to local database
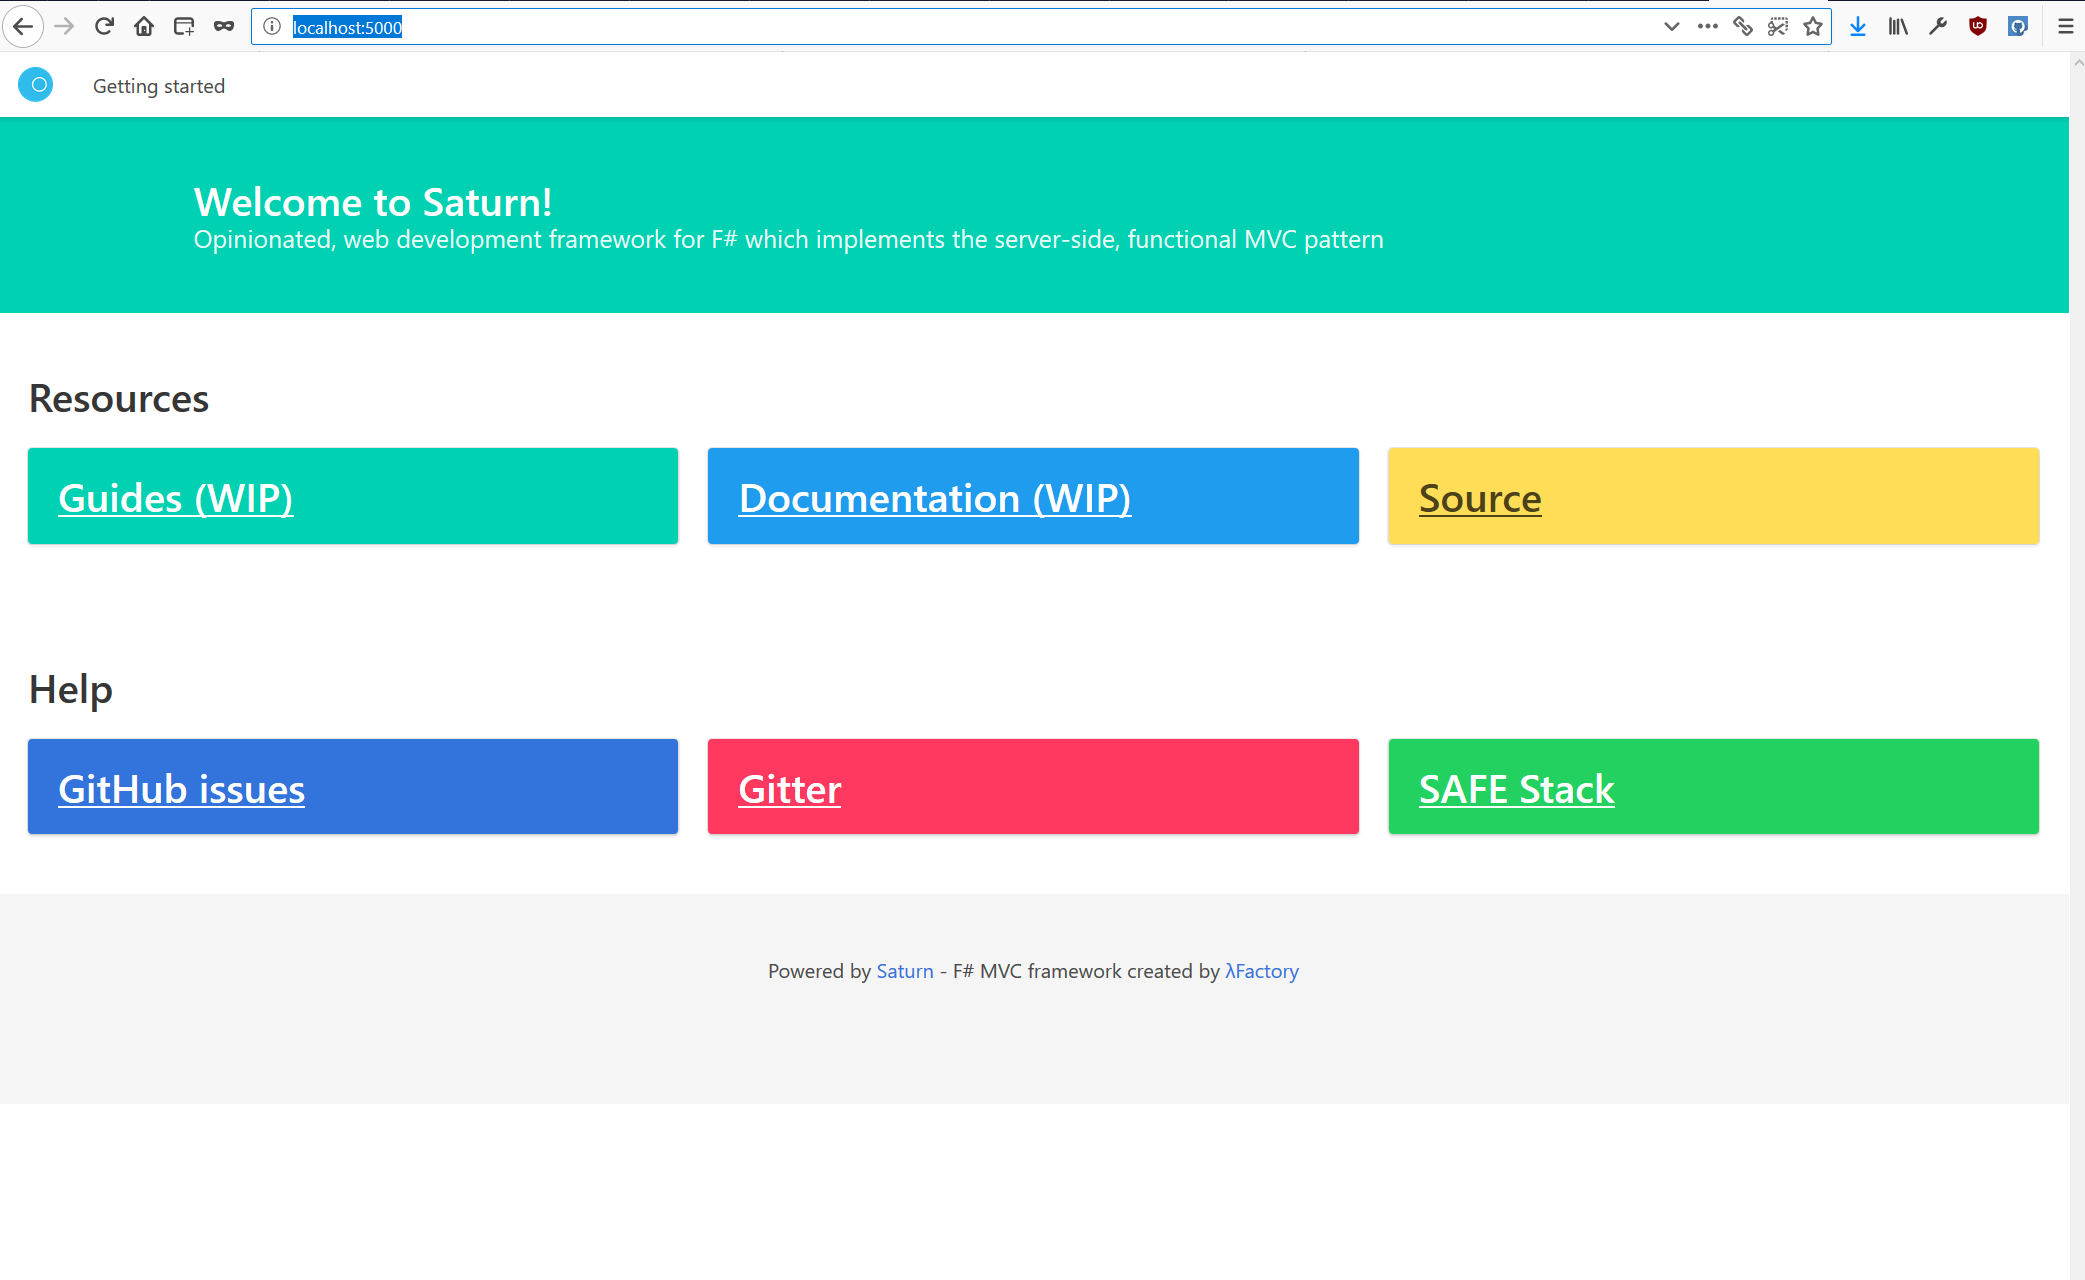
Now, from root of your repository, you can run .\build.sh Run which will start the application. You can go to http://localhost:5000/ to see standard startup page of the scaffolded application
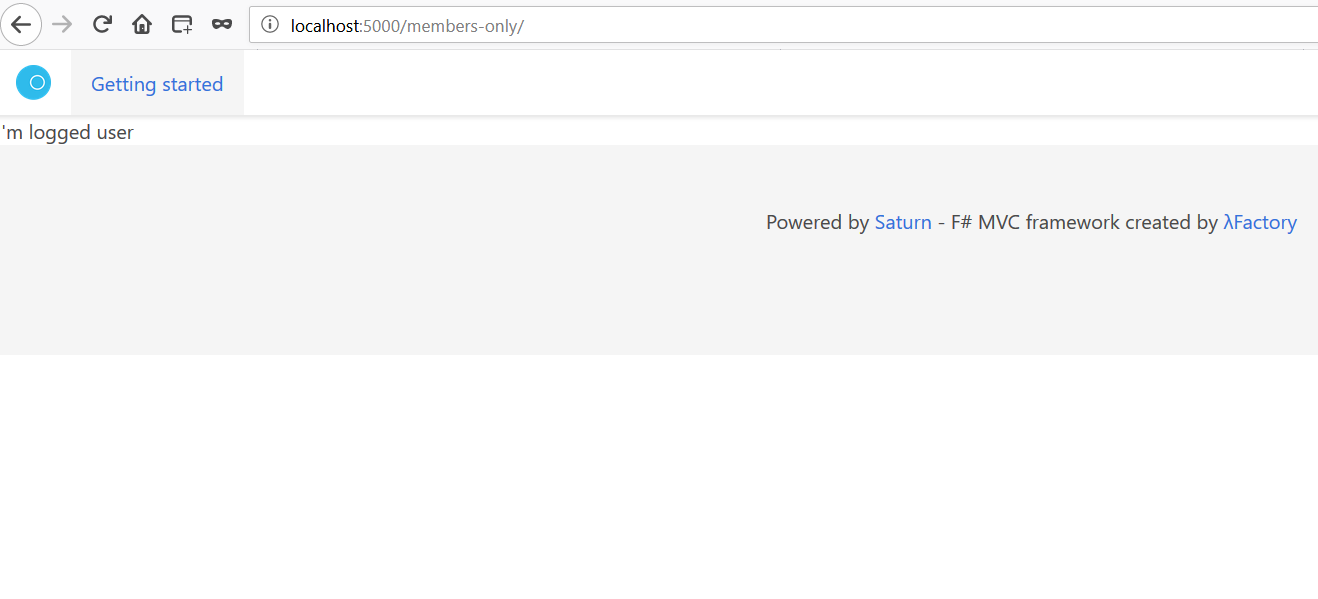
If you will try to go to http://localhost:5000/members-only URL, you will get redirected to GitHub authorization page.
And after authorization, you’ll get redirected back to our application.
You can also try going to http://localhost:5000/members-only/admin . If you are me (or you’ve updated the code ;-) ) you should see the admin page.
End of the way
In this post I’ve shown how to introduce OAuth authorization to your Saturn application. As you could see Saturn is using high level, declarative syntax that enables you to plug features like that easily into your application. Currently Saturn.Extensions.Authorization provides predefined authorization providers for Google and GitHub, but more will come to it soon. Feel free to PR your favorite OAuth provider!